Adding and Removing Years, PBCS and the joy of UI
G’day All
So. Been a while. A nice easy one to, er, get back on the horse.
Years
There are two processes for changing the first year in an Hyperion application.
Option 1) The Delete and Recreate method (aka. the one that starts scary)
- Take a full LCM backup of your planning application
- Delete the planning application, and recreate, changing the first year when you define it.
- Reimport all of the dimensionality from your backup, playing a fun game dealing with the scenarios and whatever else fails
- Rejoice that you have added a year to the start, then realise you’ve now got to deal with all that additional data
Option 2) Hack the relational tables (aka. the one that seems easy to start with, but ends in tears)
- Start googling for ‘how to add a year to Hyperion Planning’
- Find the usual suspects (Ahem. The Usual Suspects)
- Think to yourself, ‘oh this can’t be too hard’ – conveniently forgetting that you have the SQL skills of a rabbit
- Convince IT that you definitely need the passwords and access to the SQL server
- Spend 4-5 hours working out where all the references to years are in the HSP_Object, HSP_Calendar etc etc tables
- Spend a further 4-5 hours writing your own custom SQL insert statement (with associated fear and trepidation and assistance from the Overflow …sorry, the Overflow)
- Trigger the statement, restart planning and marvel at your wondrous SQL skills
- Remember you then have to replicate the same thing across 3 environments and sigh
Head in the Clouds
So what does this look like in the cloud? You don’t have access to the relational tables, so are you stuck just dropping and recreating the application every time?
Well. No. Entertainingly the behaviour in the cloud is a little different.
Let’s start with a standard years dimension. You can see I’ve already been a bit cute and added the ‘All Years’ member, but it’s pretty standard.
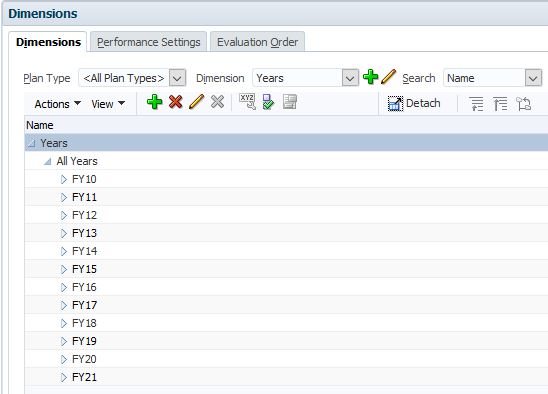
From here, same as always. Click on the Add Years button:
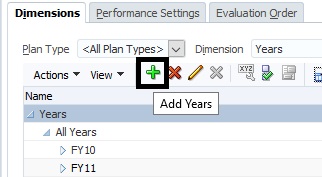
And type in the number of years to add:

Once again, nothing too off-piste yet. Click OK and you are presented with the following:

As a quick aside. This…somewhat poorly worded confirmation screen triggered this entire blog post. I remember thinking ‘No. Surely if they are allowing you to create years at the start it’s going to be clearer than a partial double negative‘.
Of course, being the good corporate citizen I am I immediately clicked No to see what would happen.
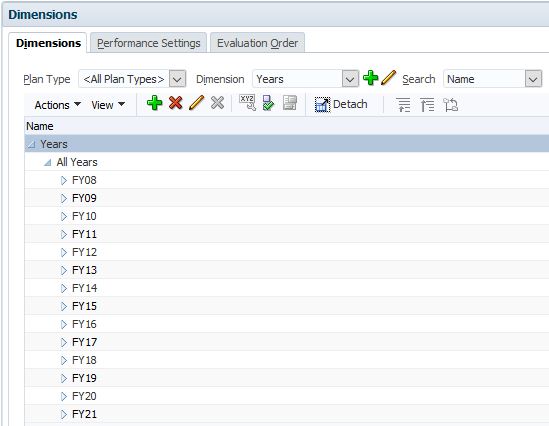
Yep. Years added to the start. Err…Suprise!.
For those playing along at home…
So – we wait for everyone who has a cloud instance to go and immediately add years to the start while cackling madly. Now what?
Well, we’ve proved that you can add year(s) to a Hyperion Planning application in the cloud. What about deleting them?
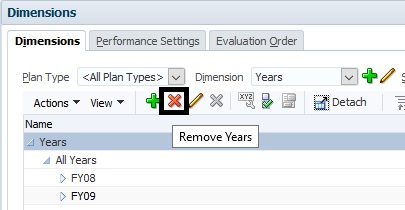
Right next to the add button is a remove button, clicking on it leads to a very similar screen…(so similar in fact, it comes with the same Tooltip! Err…I think that’s a bug)

Selecting a number of years and clicking OK leads you to the similar, and once again ‘slightly convoluted‘ confirmation message.

Clicking No…well, does exactly what you’d expect.
The Years are removed and we’re back where we started!
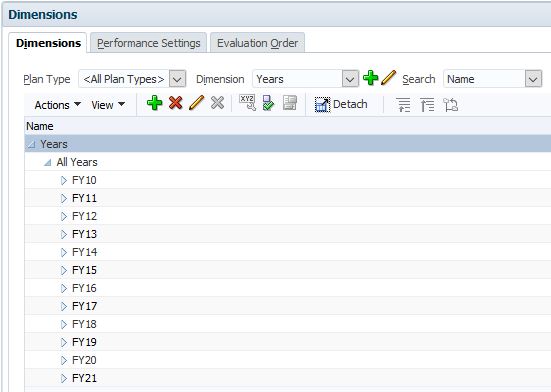
The world ain’t all sunshine and rainbows
So a couple of little quirks:
- Same as deleting members, you need to make sure the years aren’t referenced on dataforms\within calculations etc etc.
- Review the scenario dimension for references as well – you can’t delete a year if it’s set as a start or end year
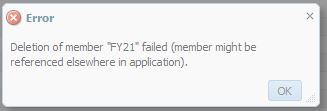
So there you have it
Adding and Removing years in Hyperion Planning without angst, muss or fuss.
Be awfully nice to see this in on-premises….
Cheers, and looking forward to seeing an awful lot of you at Kscope!
Pete